Where Everyday Plastic Parts Get Their Start
Have you ever wondered how common plastic components, like specialized conveyor chains or intricate housings, are manufactured? The modern process of Plastic Injection Molding (IM) is surprisingly similar to familiar kitchen activities like baking or chocolate making.
This article will take you inside the factory, using relatable analogies melting chocolate to fully explain the complete industrial journey, from raw plastic material to the finished, precision-engineered product.
1. The Raw Material: From Petroleum to “Industrial Sugar”
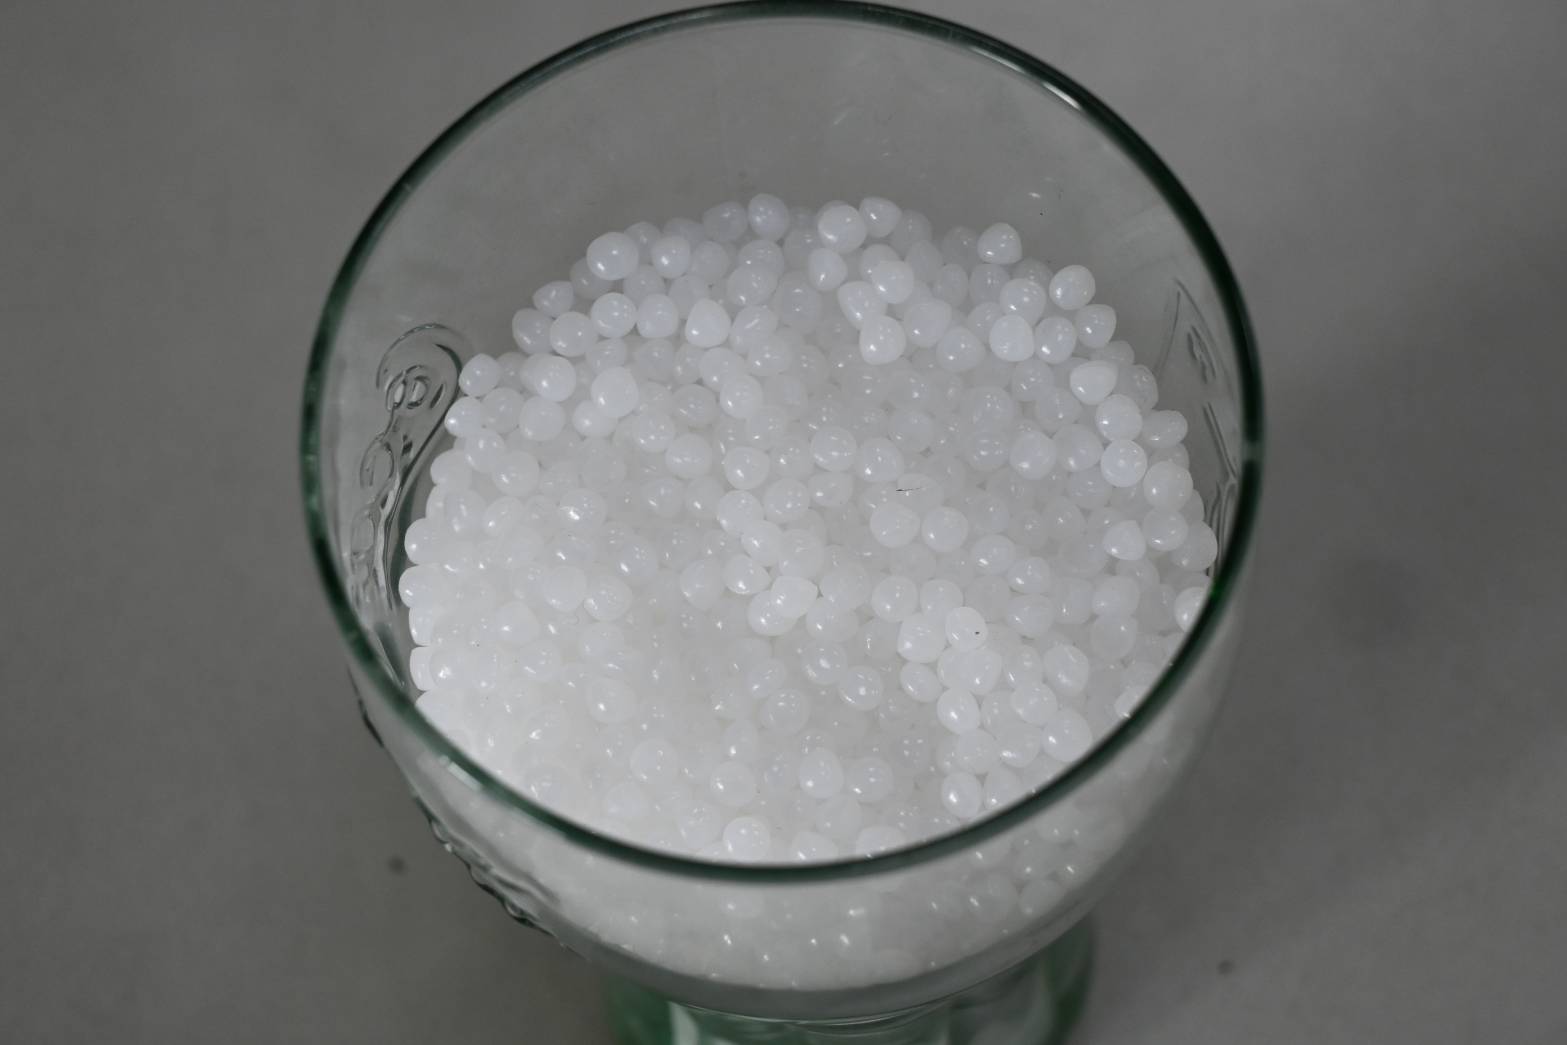
Every manufacturing process begins with the raw material. In a plastics factory, the most common starting material is Polyethylene (PE) plastic pellets (often called resin). These tiny, typically white, granules look almost identical to coarse sugar or sea salt.
Why PE is Often Chosen for Parts like Chains:
- Exceptional Toughness and Flexibility: Similar to what you find in milk jugs or cling film, PE offers excellent ductility and resilience. This ensures the finished product, like a chain link, is strong and resistant to breaking under stress.
- A Commitment to the Circular Economy: To support sustainability, manufacturers frequently incorporate regrind (recycled material). This process is analogous to adding a “starter” in bread-making: scrap materials and trimmed runners are ground up and blended back into the virgin resin, minimizing waste and maximizing resource efficiency.
2. The Blending Stage: Engineering Vibrant Color
To transform the basic white plastic pellets into a kaleidoscope of colors, a crucial step—the blending process—is required. This is like adding food coloring or flavored powders to a base batter. Industrially, there are three primary methods for achieving color:
The Three Methods of Plastic Coloring:
- Dry Pigment Powder (Least Common): The most basic method involves directly mixing the dry color powder into the raw resin. While this offers the lowest material cost, the fine powder can be messy, creating challenges for factory cleanliness and material handling.
- Masterbatch (Industry Standard): This is the dominant method used today. A super-high concentration of pigment is encapsulated within a plastic carrier, creating highly concentrated, pelletized color masterbatch. Masterbatch is like a “condensed soup cube”—it’s clean, offers excellent color control, and provides highly consistent results.
- Pre-Colored Resin (Highest Quality): The factory purchases plastic resin that has already been dyed and extruded by the supplier. While this is the highest cost option, it guarantees the best color uniformity and overall quality consistency.
Regardless of the method, the final colored mixture must be thoroughly blended using large industrial mixers (vertical or horizontal) to ensure every pellet is uniformly coated or mixed.
3. Plasticizing and Injection: The High-Pressure Manufacturing Heart
The blended and colored plastic resin then proceeds into the injection molding machine.

Step 1: Plasticizing (Melting and Homogenization)
The solid plastic pellets are fed into a heated barrel. Inside, they begin to melt into a viscous fluid, much like heating a block of chocolate. Simultaneously, a rotating screw inside the barrel shears the material, generating immense frictional heat. This action thoroughly “kneads” the plastic, ensuring a perfect, homogenous blend of color and material.

Step 2: High-Pressure Injection (The Critical Shot)
This is the peak moment of the process. The molten plastic (the “shot”) is quickly and powerfully pushed through a nozzle, forced out by the immense pressure of the screw—often likened to the force of a high-pressure fire hose.
This powerful, rapid injection drives the viscous plastic into the core of the machine: the mold tool.
The mold tool is the precision-engineered metal cavity that contains the precise negative shape of the final part (e.g., the complex geometry of a chain link). High-pressure injection is essential to ensure the plastic instantaneously fills every minute detail and corner of the mold, creating a fully formed, defect-free part.
4. Cooling and Finished Product: The Precision Calculation of Thermal Expansion and Contraction
The plastic, freshly injected into the mold, is at a high temperature, typically around $200^{\circ}\text{C}$ ($392^{\circ}\text{F}$), and must be cooled and solidified inside the mold cavity. Mold designers must precisely calculate the plastic’s shrinkage rate during the design phase (similar to how a piece of chocolate slightly contracts after coming out of the mold, allowing it to be demolded without sticking). This ensures the cooled product’s dimensions are accurate and precise.
Finally, the mold opens (demolding), and the ejection mechanism pushes the formed chain link out. Workers then perform the final post-processing, trimming off the excess material (runners/scrap), and a strong, durable, and vibrantly colored plastic chain link is born.
Conclusion
The journey from a sugar-like PE pellet, through mixing, high-temperature plasticizing, high-pressure injection, and precise cooling, is a marvel of industrial engineering. Next time you encounter an everyday plastic part, reflect on this “chocolate-making” process—you’ll gain a whole new appreciation for the sophisticated technology behind these essential components.
Contact Us Today for Your Custom Molding Needs:
Email: sales@pinkbrand.com